Creating an Event in SB Engaged
** FOR CLUBS/ORGANIZATIONS: Please note any event your organization wants to host should be submitted through 25 Live . Once the space has been confirmed on 25 Live, you are able to submit the event on SB Engaged. Submitting an event on SB Engaged does not guarantee approval. For more information please click here***
Only primary contacts and positions with full access over Events can create events within an organization. If you do not have the proper permissions, you'll want to talk to your primary contact or your site administrators in order to request the required access.
Step by Step

From within your organization's Action Center, go to Events in the organization tool menu.
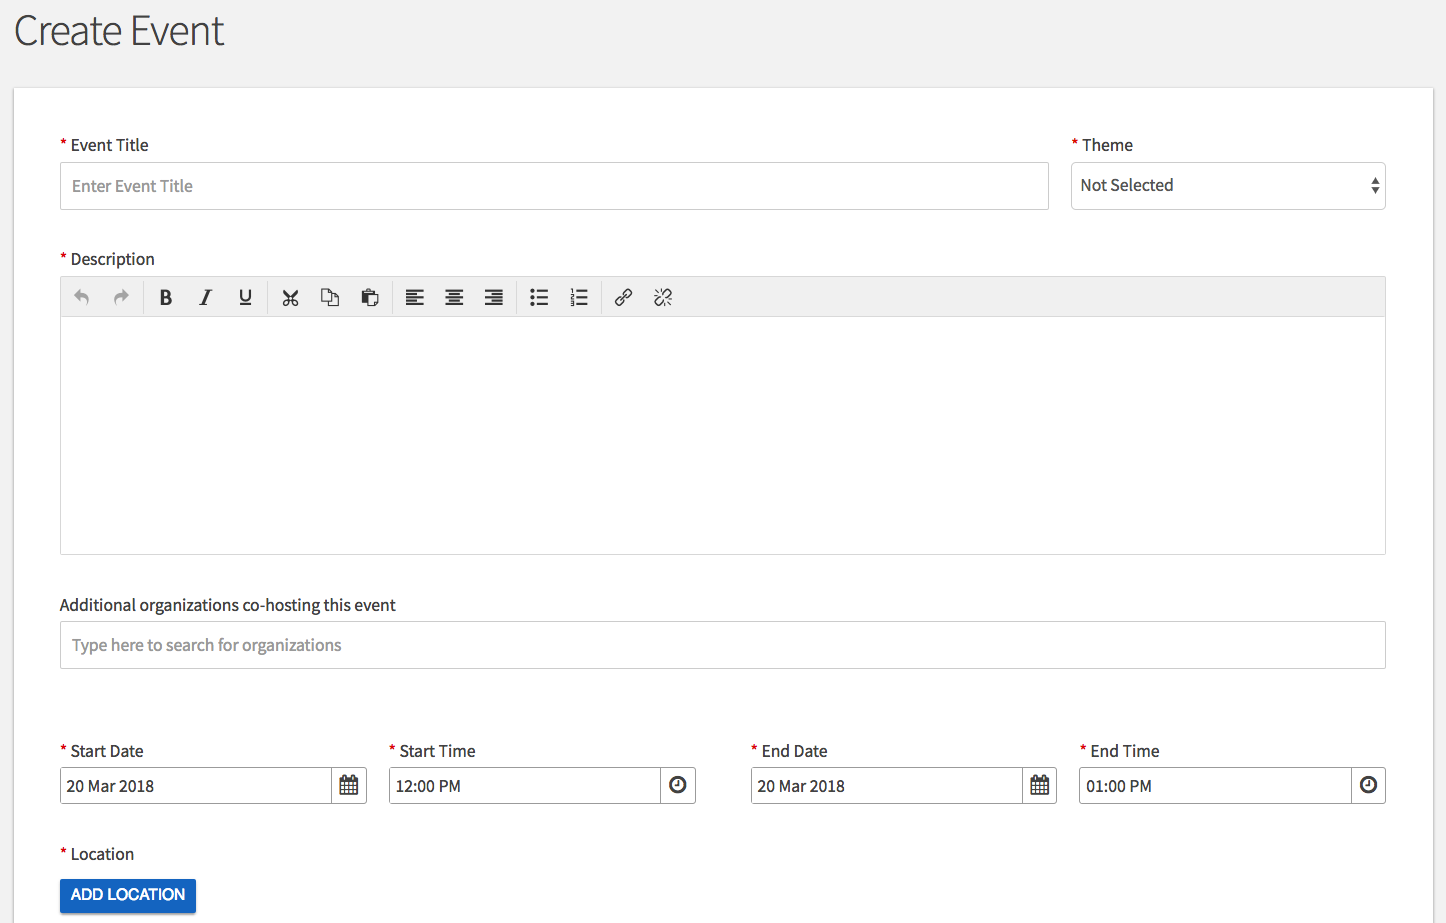
Click on Create Event in the upper right corner. Enter an event title, theme, description, start and end time, and location into their respective boxes.
You can also identify if the event will be co-hosted with other organizations. Required fields are marked by the red asterisk at their start.
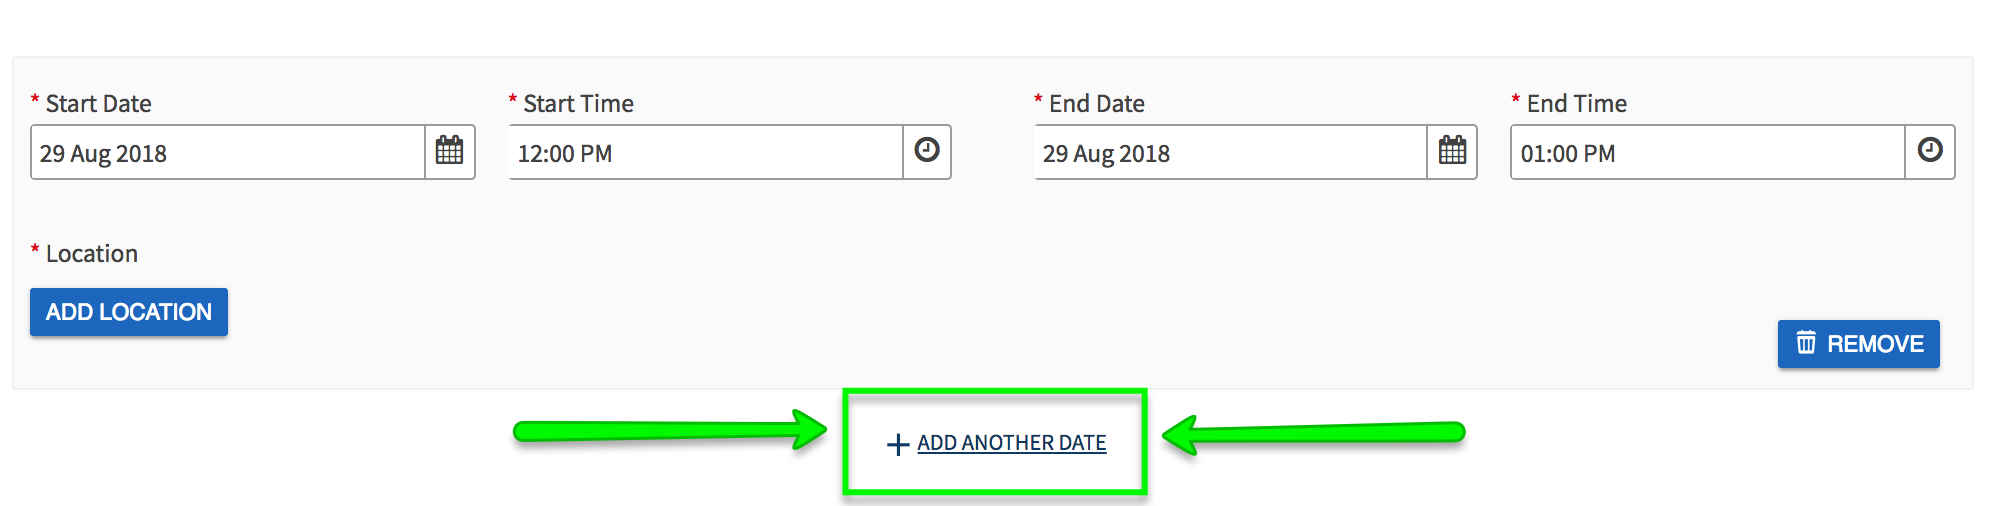
You can add up to 18 different times/locations within one event submission. Upon approval, each instance of the event you created will become its own event that can be individually edited or changed. Click "Add Another Date" to create a recurring event.
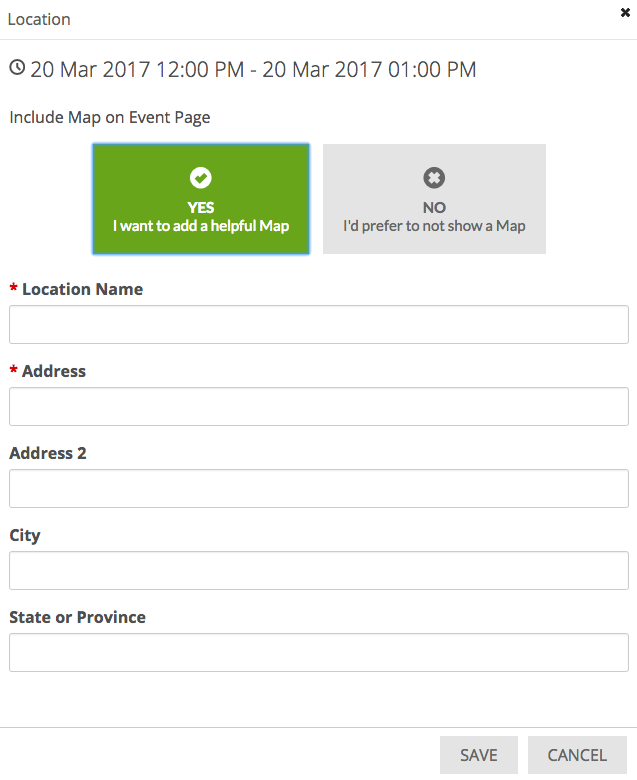
You can also choose whether to include a helpful map, courtesy of Google Maps, to your event details page. *All spaces must be reserved and approved before advertising*
Options:
Anyone in the world- Visible to everyone
Students and staff-Only visible to logged in users to your campus site.
Organization members-Only visible to the members of the organization associated with the event.
People invited by Host-Only visible to those who were invited to the event.
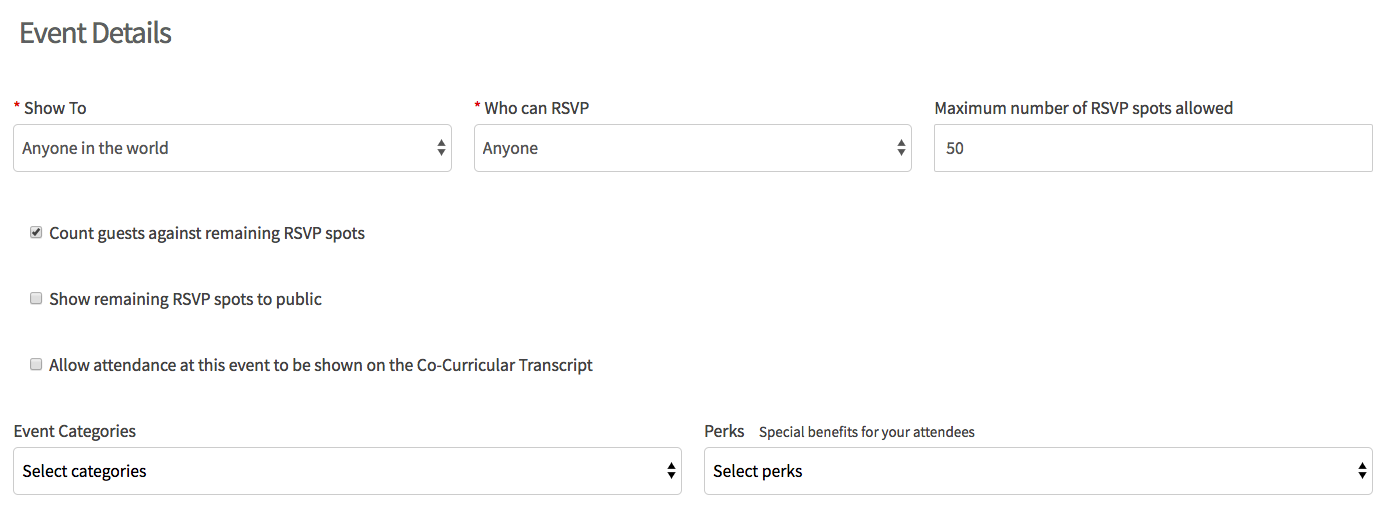
Select the appropriate Category from the drop-down menu, if applicable. Next, choose who is able to RSVP, and the perks (special benefits for your attendees) available at your event using their respective drop-down menus

You can now choose to add an image to your event by clicking Choose File and adding an image that you feel will draw attention to your event. We recommend a photo that is 1024px by 600px or larger, under 10MB, and of one of the mentioned formats (JPG, JPEG, GIF, or PNG). The image will run through an image re-sizer, so the larger - the better! If you choose not to upload a photo, a default photo will be chosen for you based on the theme of your event.
*Please be mindful of text within photos. All information presented in photos should also be in the description.**
When you're ready, advance using Next or Skip. Depending on your role, you may be required each event submission to provide certain information.